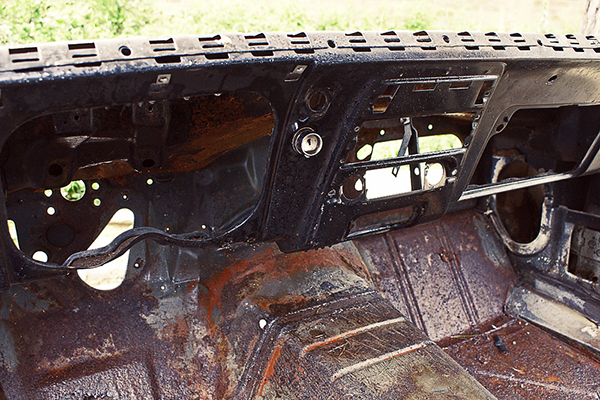
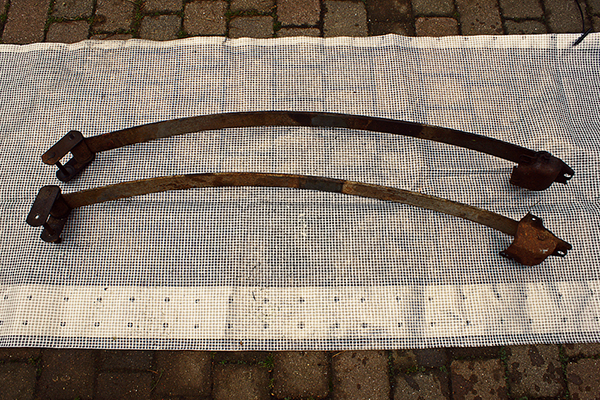
Took out the rear axle assembly. This was just a case of un-attaching the shocks then unclamping the leaf springs, the traction bar was already unbolted from the body. The leaf springs are being a little stubborn, so I separated them under the car and am going to take them out later.
Before:
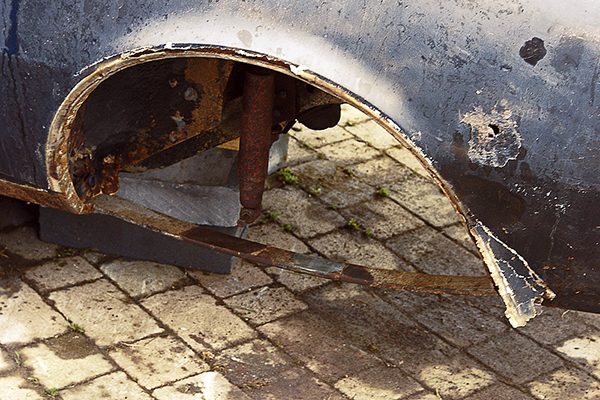
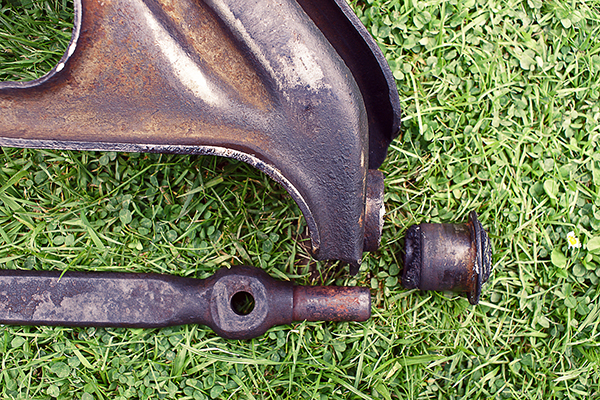
Before / after:
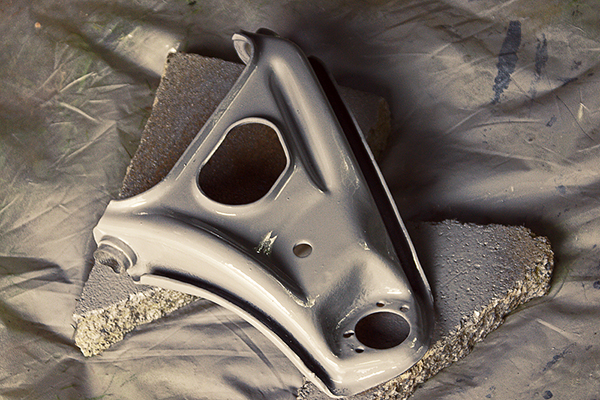
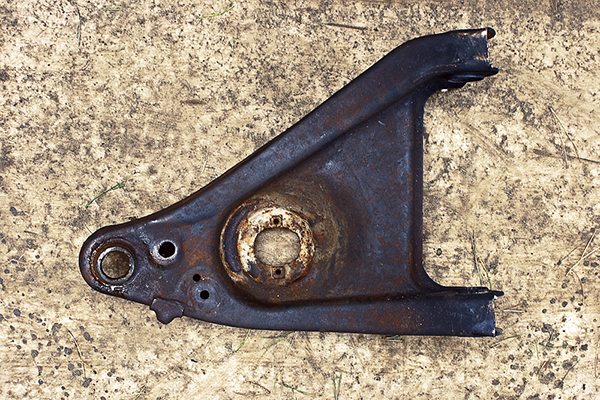
Before / after:
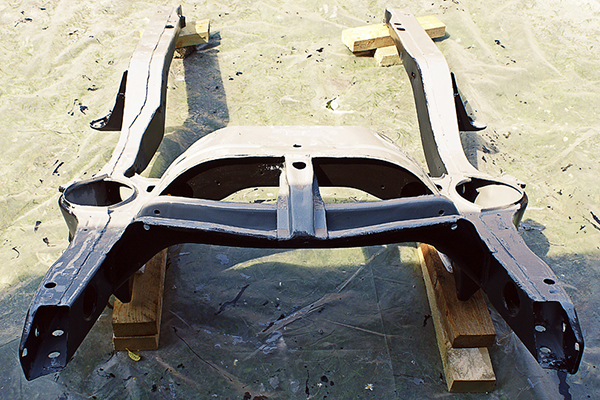
Axle Assembly:…

 ;)
 ;)
 ;)
 ;)