
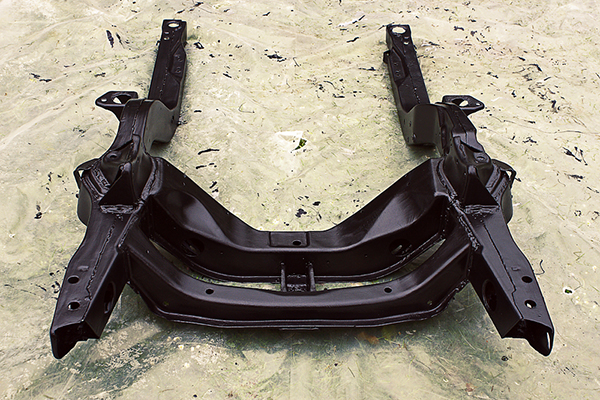
Quickly mocked up:
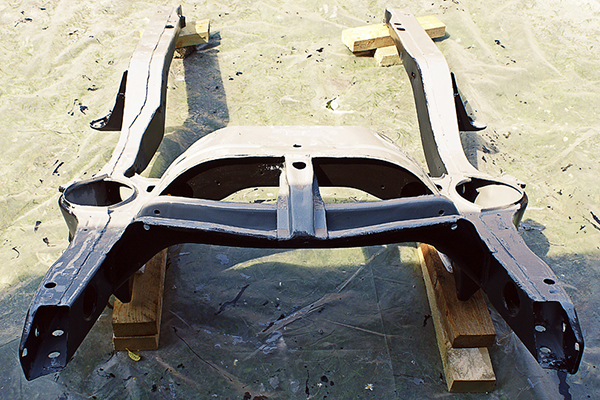
Transmission crossmember and detail of control arms.…
 ;)
Sub frame components – POR-15 under coat.
From now on I’ll be spraying POR-15 on everything, rather than brushing.…
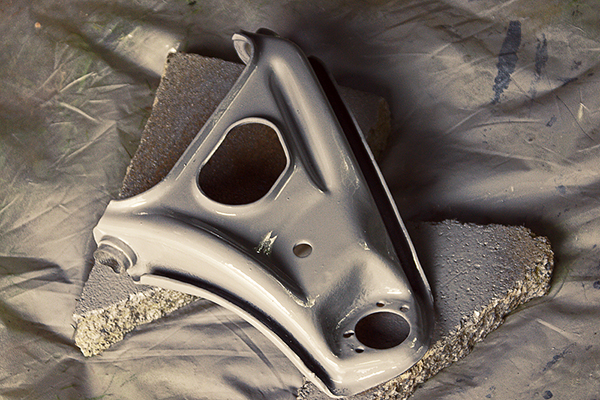
Preparing sub frame components for painting.
 ;)
After grinding:
Quick wash:
Degreasing:
After Metal Ready pre-primer:…
Removing upper control arm shaft and bushings.
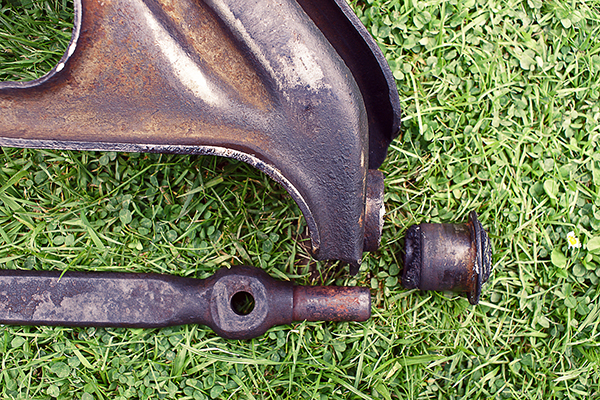
Pictures say it all. Just use a chisel and hammer.
This metal outer sleeve gets replaced with a new bushing, so the damage doesn’t matter. The edge of the control arm shaft hole is burred, so will need filing down.…
Removing lower control arm ball joints and bushings.
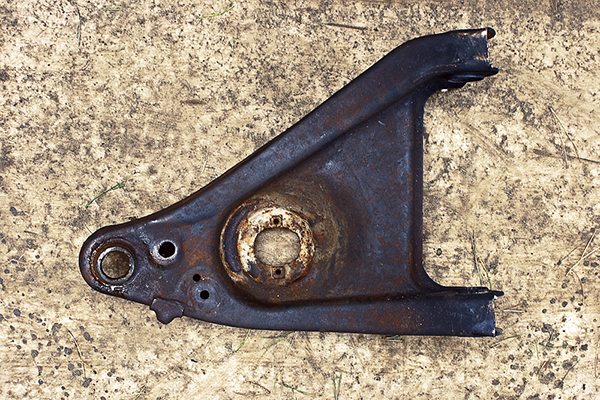
Removing lower control arm ball joints:
Place the old castle nut upside down on the ball joint, and hit hard with a hammer. After successive knocks the ball joint backing plate will fall off and the ball joint will fall through.
The removal process is not finished, it is continued here. Or, see my how-to article.
Removing lower control arm bushings:
If after brute force applied…
Cavity waxing.
 ;)
For this I used Bilt Hamber Dynax S-50 (anti-corrosion for cavities). Only way to tell if it’s really any good is to wait a few years. It certainly applied easily and got good coverage, and is definitely water repellent. When it dries it has a rubbery flexible feeling.
Subframe inside. Before and After:…
Painting subframe (underneath).
POR-15 (rust preventative base coat):
The base coat is really good stuff. Goes a long way and all brush strokes smooth out when drying.
POR-15 Chassis-Coat (UV protection top coat):
The top coat is not quite as good as the base. It covers about half as much, and brushes strokes are inevitable. It does have a nice finish – colour and sheen – to it though. Once the subframe…
Painting subframe.
POR-15 (rust preventative base coat):
The base coat is really good stuff. Goes a long way and all brush strokes smooth out when drying.
POR-15 Chassis-Coat (UV protection top coat):
The top coat is not quite as good as the base. It’ll cover about half as much, and brushes strokes are inevitable. It does have a nice finish – colour and sheen – to it though. Once the subframe…
Cleaning subframe.

To strip all the subframe parts is kinda lengthy, and I forgot to take pictures. It is pretty simple: Remove the front wheels. Remove the shocks. Split the tie-rods and unbolt the steering pump and idler arm (entire steering assembly). Remove the sway bar. Chain the coil spring to the lower control arm and split the lower ball joint. Split the upper ball joint. Unbolt upper and lower control arms.…
Separating front subframe.
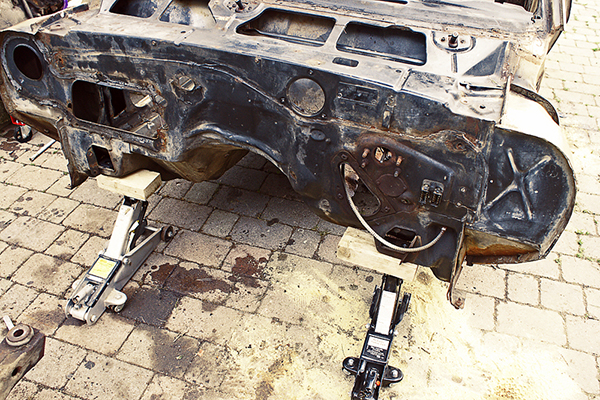
Once the engine and transmission are out, the subframe could be unbolted in four location from the body – 2 under the front seat pans and 2 directly under the firewall/bulkhead. These were very rusty so a big cheat bar on the socket wrench was used, and probably a whole can (not really…) of WD-40. The bushings are completely shot, there’s almost nothing left of them, they’ve rusted and disintegrated…